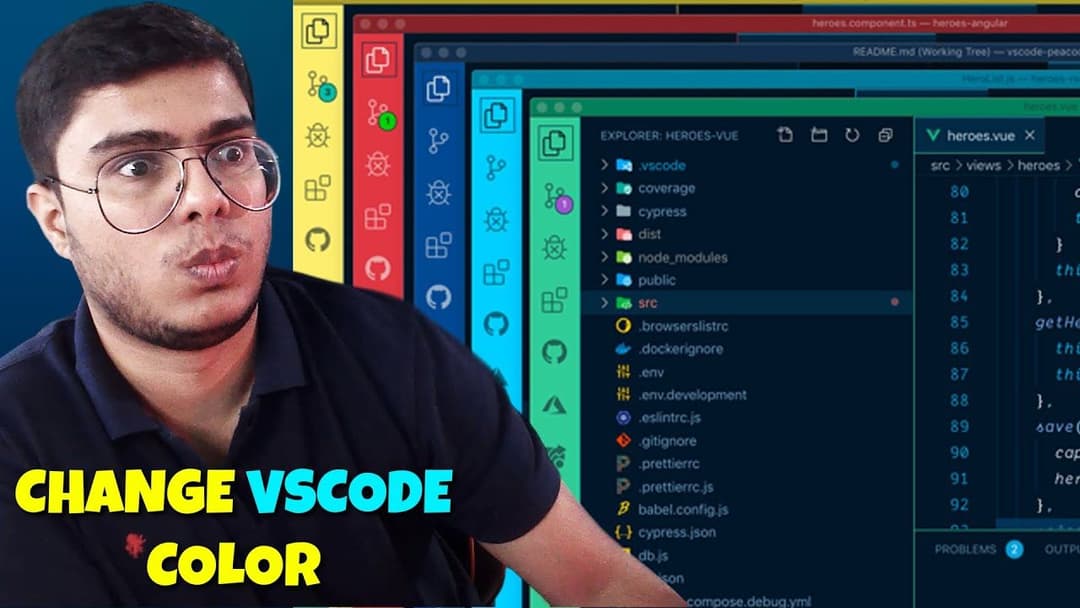
Make VS Code Unique with Color Customization
Before we dive in, why not take a quick peek at my portfolio: https://priyalraj.com, & while you’re at it, check out my SaaS venture: https://shavelinks.com, it’s where innovation meets simplicity.
Are you tired of the same old look of your VS Code workspace? Want to add a splash of colour to your coding environment? The Peacock extension is just what you need! This guide will show you how to easily customize your VS Code workspace colour using Peacock.
First of all, why should you customize your VS Code workspace?
Not everyone likes the default look of VS Code. Some people prefer dark themes, while others go with blind mode a.k.a light mode. It depends on personal taste.
- Dark Mode Lovers: Most people prefer dark themes because they’re easy on the eyes.
- Blind Mode Fans: Some might want to torture themselves, I don’t know why?
No matter your preference, Peacock lets you choose the colors that suit you best!
Why Use Peacock?
- Personalization: Make your VS Code workspace look exactly how you want it.
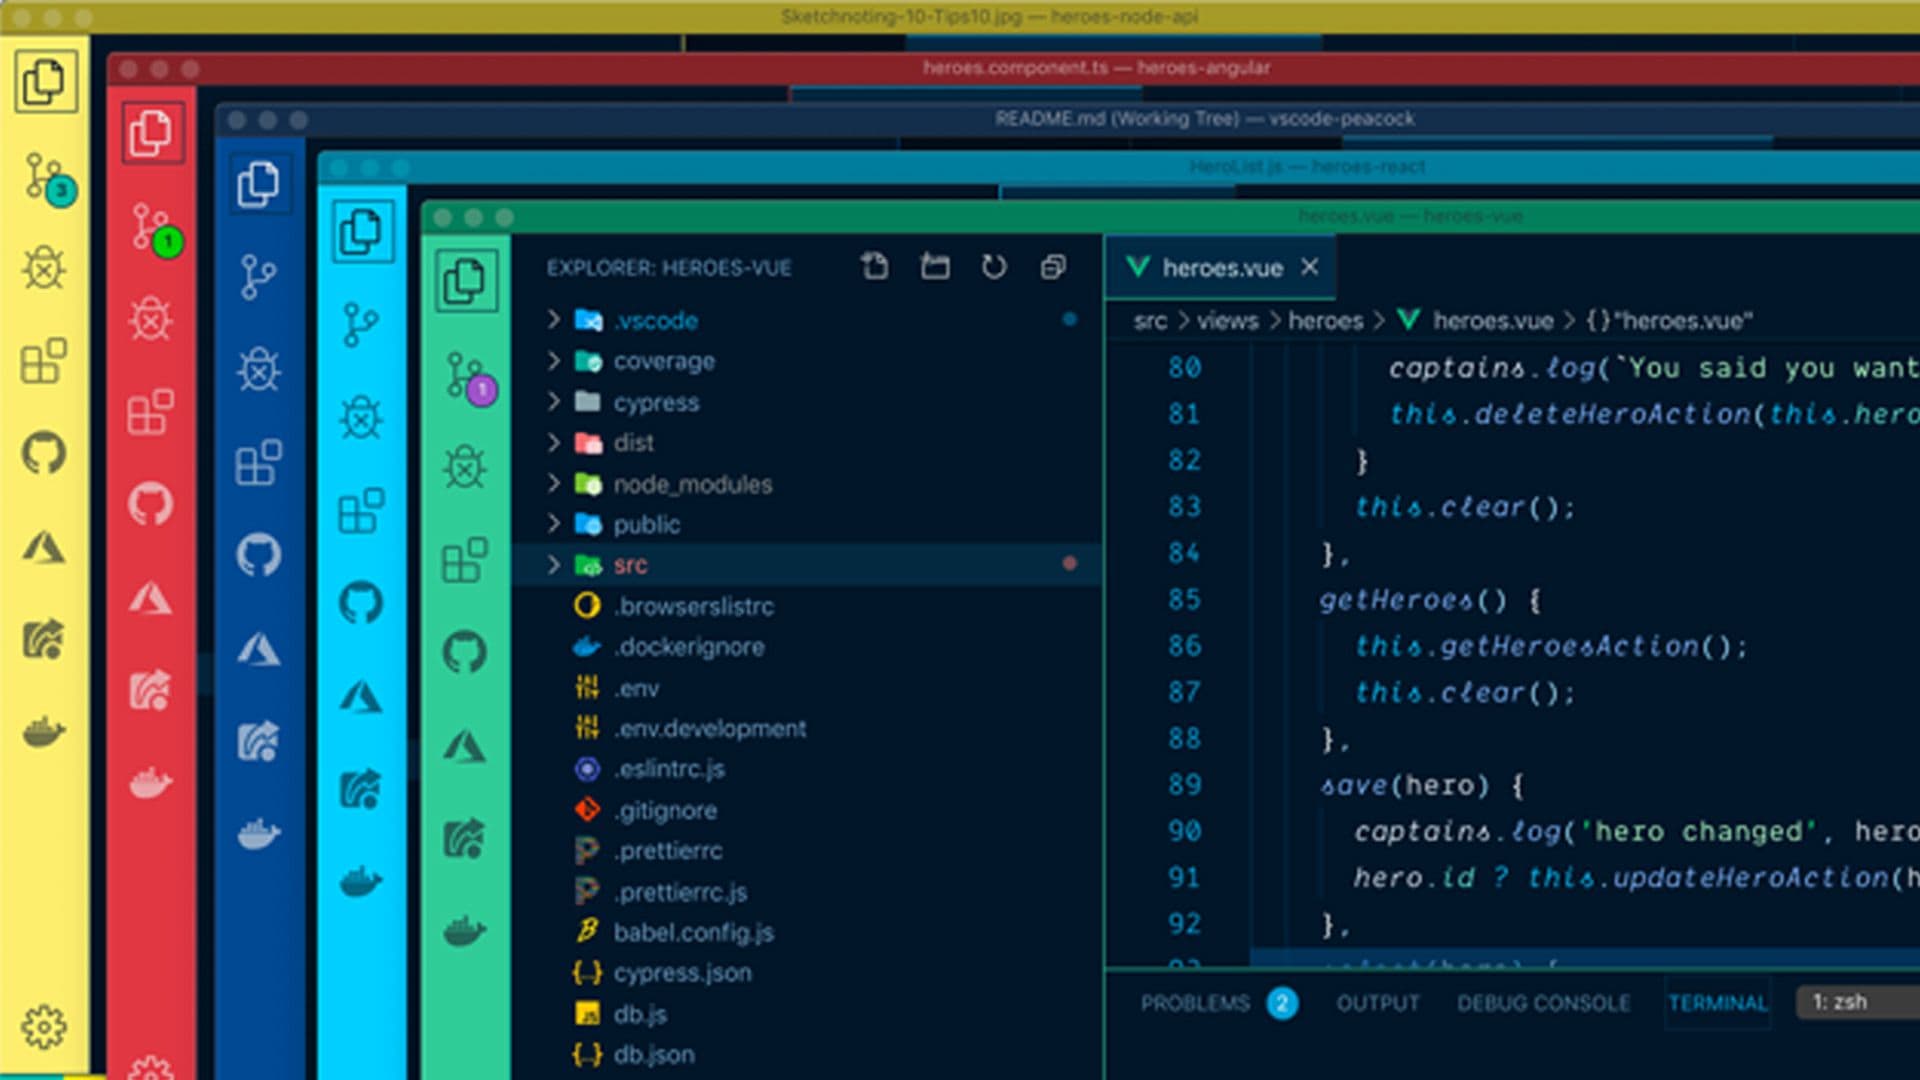
- Project Organization: Easily differentiate between multiple projects by using different colors.
- Fun and Exciting: Let’s face it — coding is more fun when your workspace looks cool!
Before we dive into the tutorial, if you’d prefer to watch a video guide on installation, click here. Alternatively, you can follow along with the blog, whichever suits your style!
Getting Started: Installing Peacock in VS Code:
- Open VS Code: Launch VS Code on your device.
- Go to Extensions Panel: Click on the Extensions icon on the sidebar or press
Ctrl+Shift+X. - Search for Peacock: Type “Peacock” in the search bar.
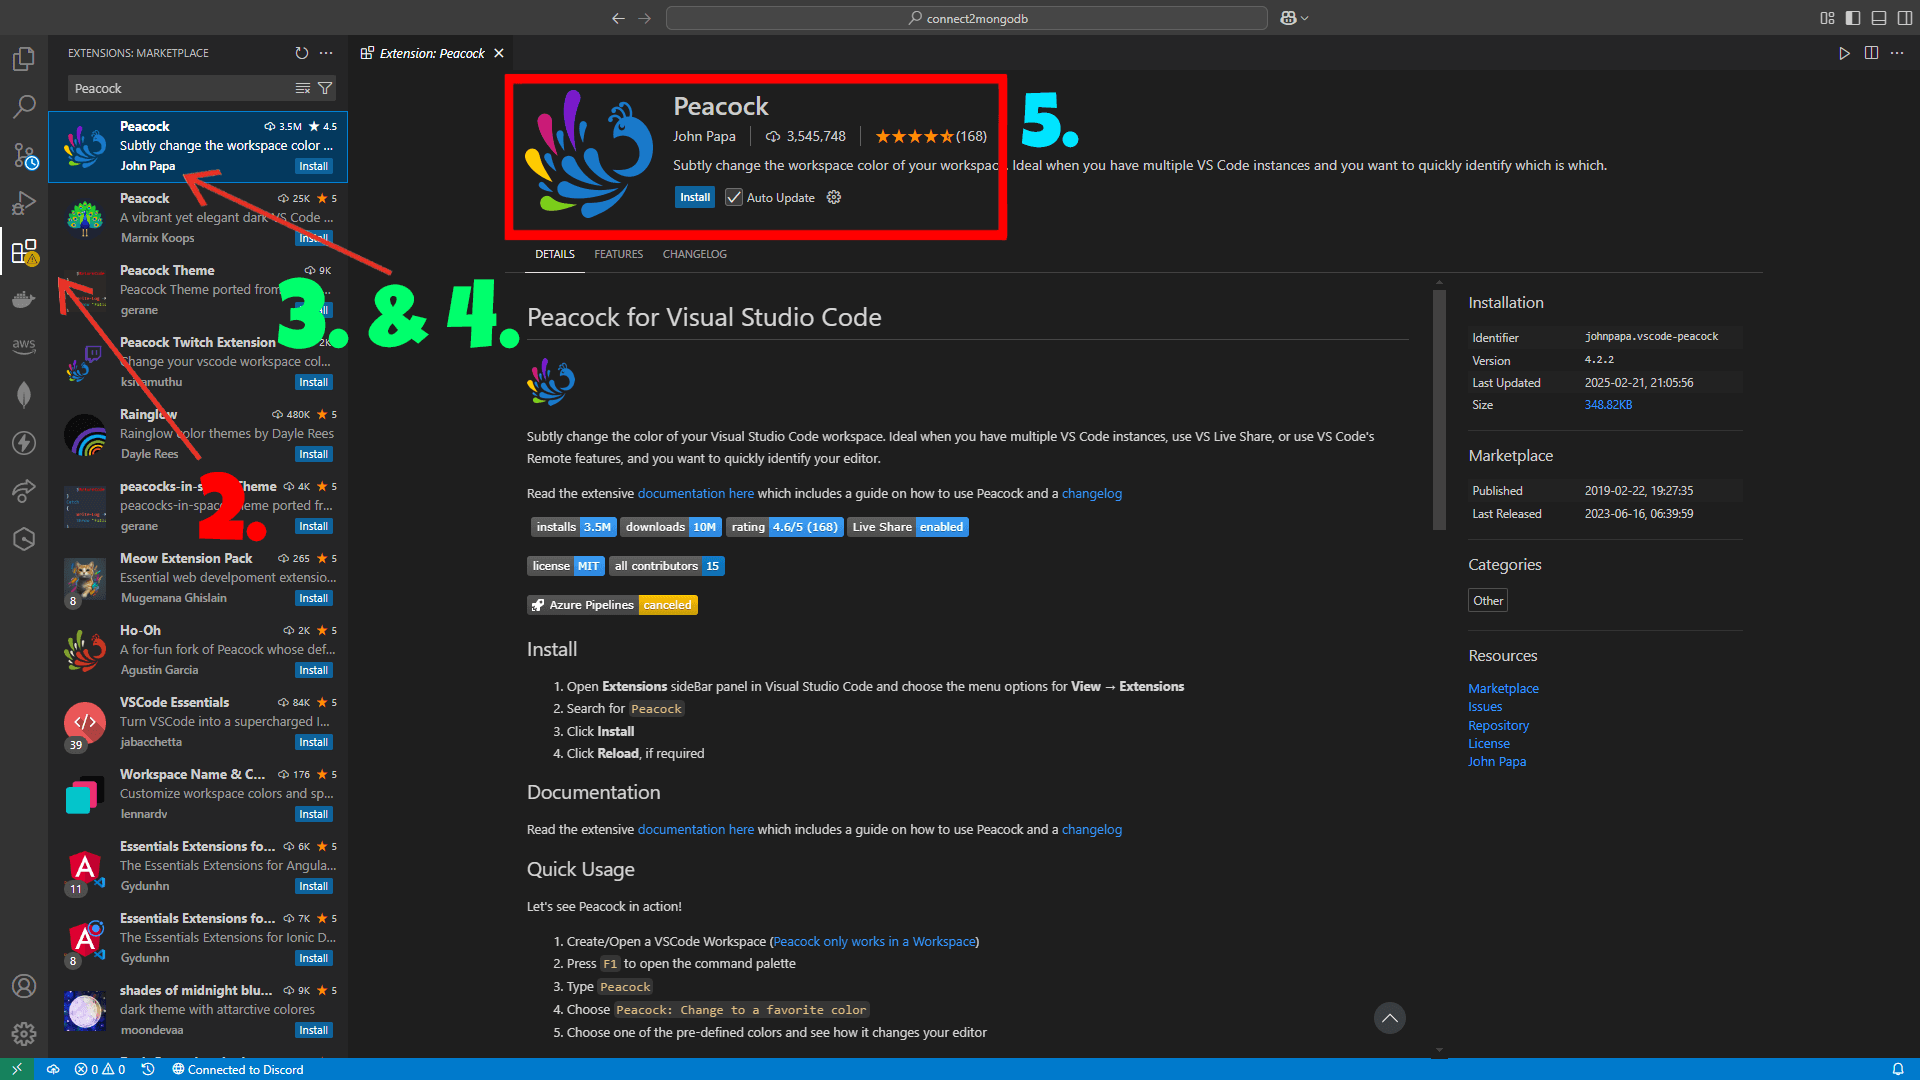
- Find the Right One: Look for the extension made by John Papa.
- Install Peacock: Hit the Install button to add it to your VS Code.
That’s it! You’re now ready to change your VS Code colors.
How to Change to a Favourite Color:
Once you’ve installed Peacock, you can start changing colors right away:
- Open Command Palette: Press
Ctrl+Shift+P. - Search for Color Options: Type “Change to a favourite color”.
- Choose a Color: You’ll see a list of default colors like:
- React Blue — A cool shade for React developers.
- Angular Red — Perfect for Angular lovers.
- Vue Green — Great if you work with Vue.js.
4. Select and Apply: Click on your favorite color, and your VS Code will instantly change to that color.
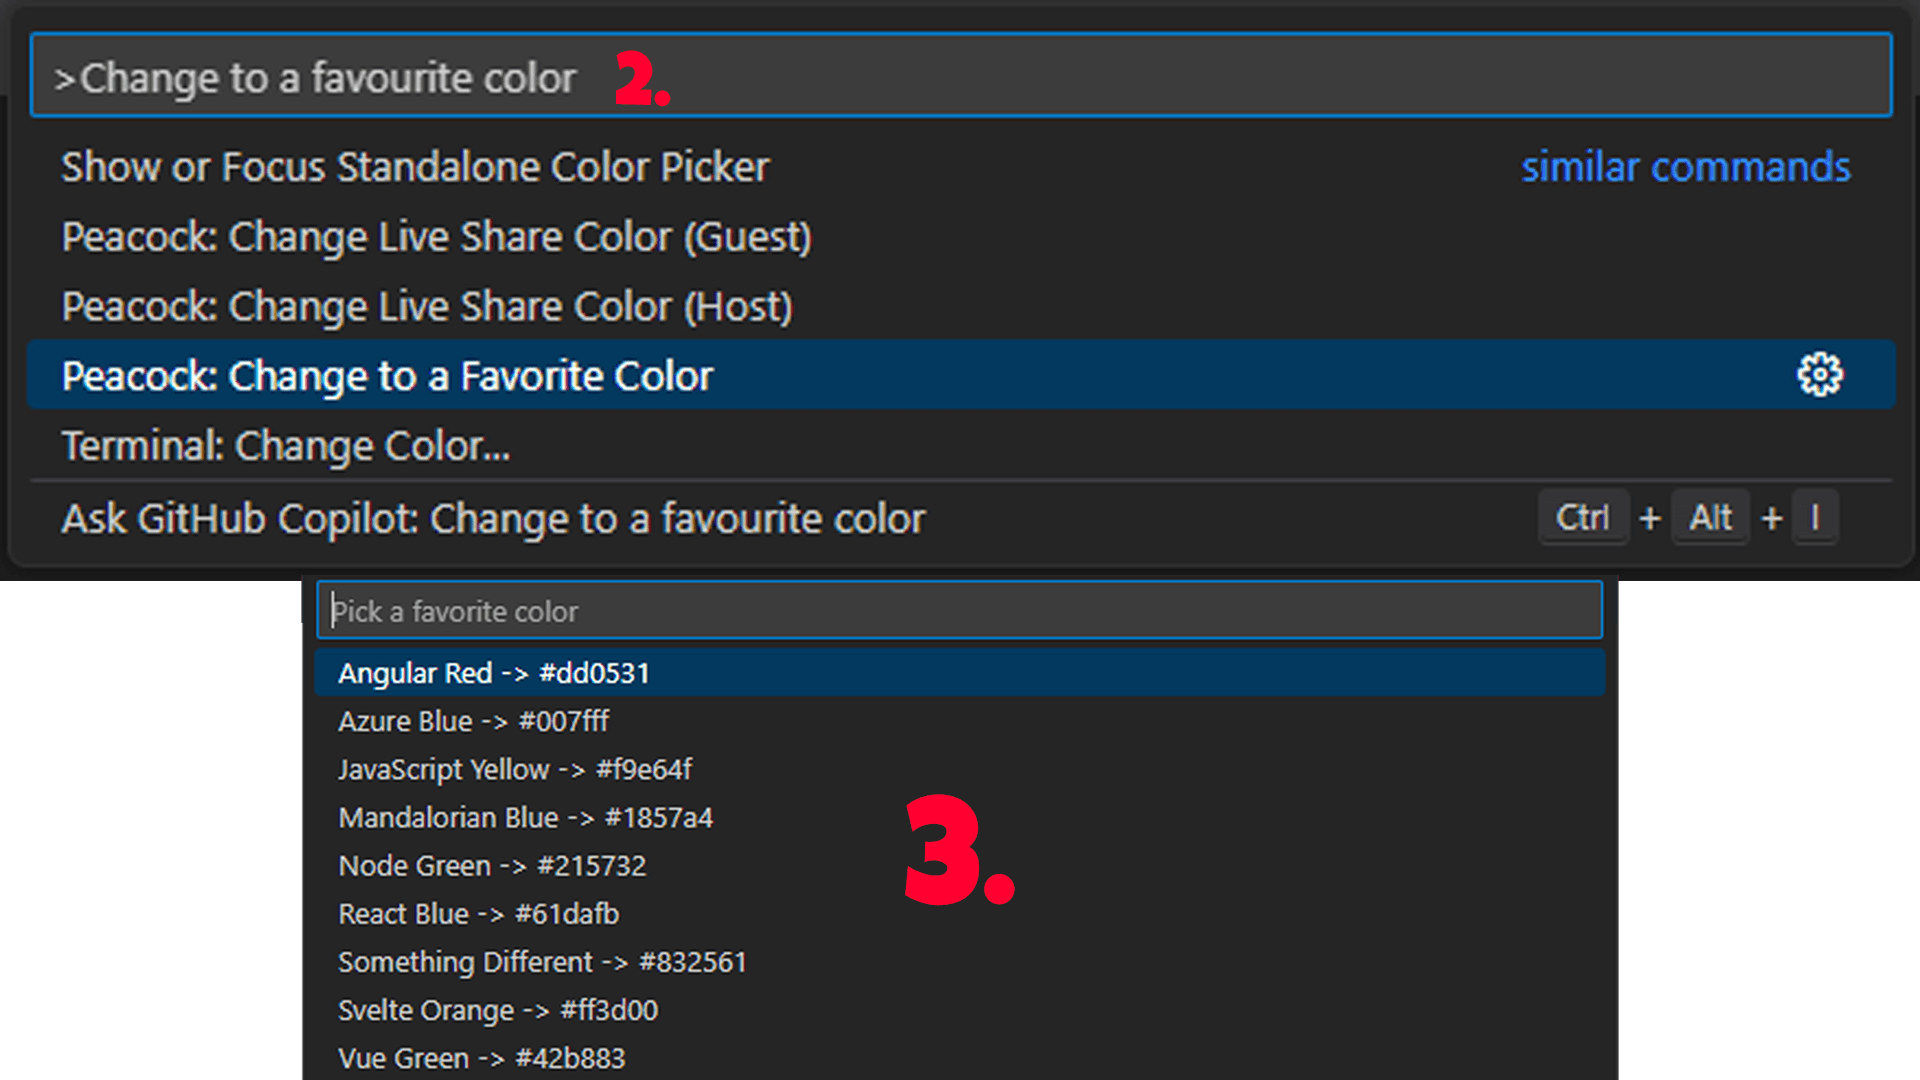
You can play around with different colors and see which one you like the most.
Creating Your Own Custom Colors:
Didn’t find the perfect color? No worries! Peacock allows you to create custom colors too. Here’s how:
- Open Command Palette: Press
Ctrl+Shift+P. - Enter a Custom Color: Type “Enter a color” and press Enter.
- Use a Hex Code: Enter a color using a hex code (e.g.,
#000000for pure black or#FF5733for a bright orange). - Apply the Color: Your VS Code workspace will instantly change to the custom color you entered.
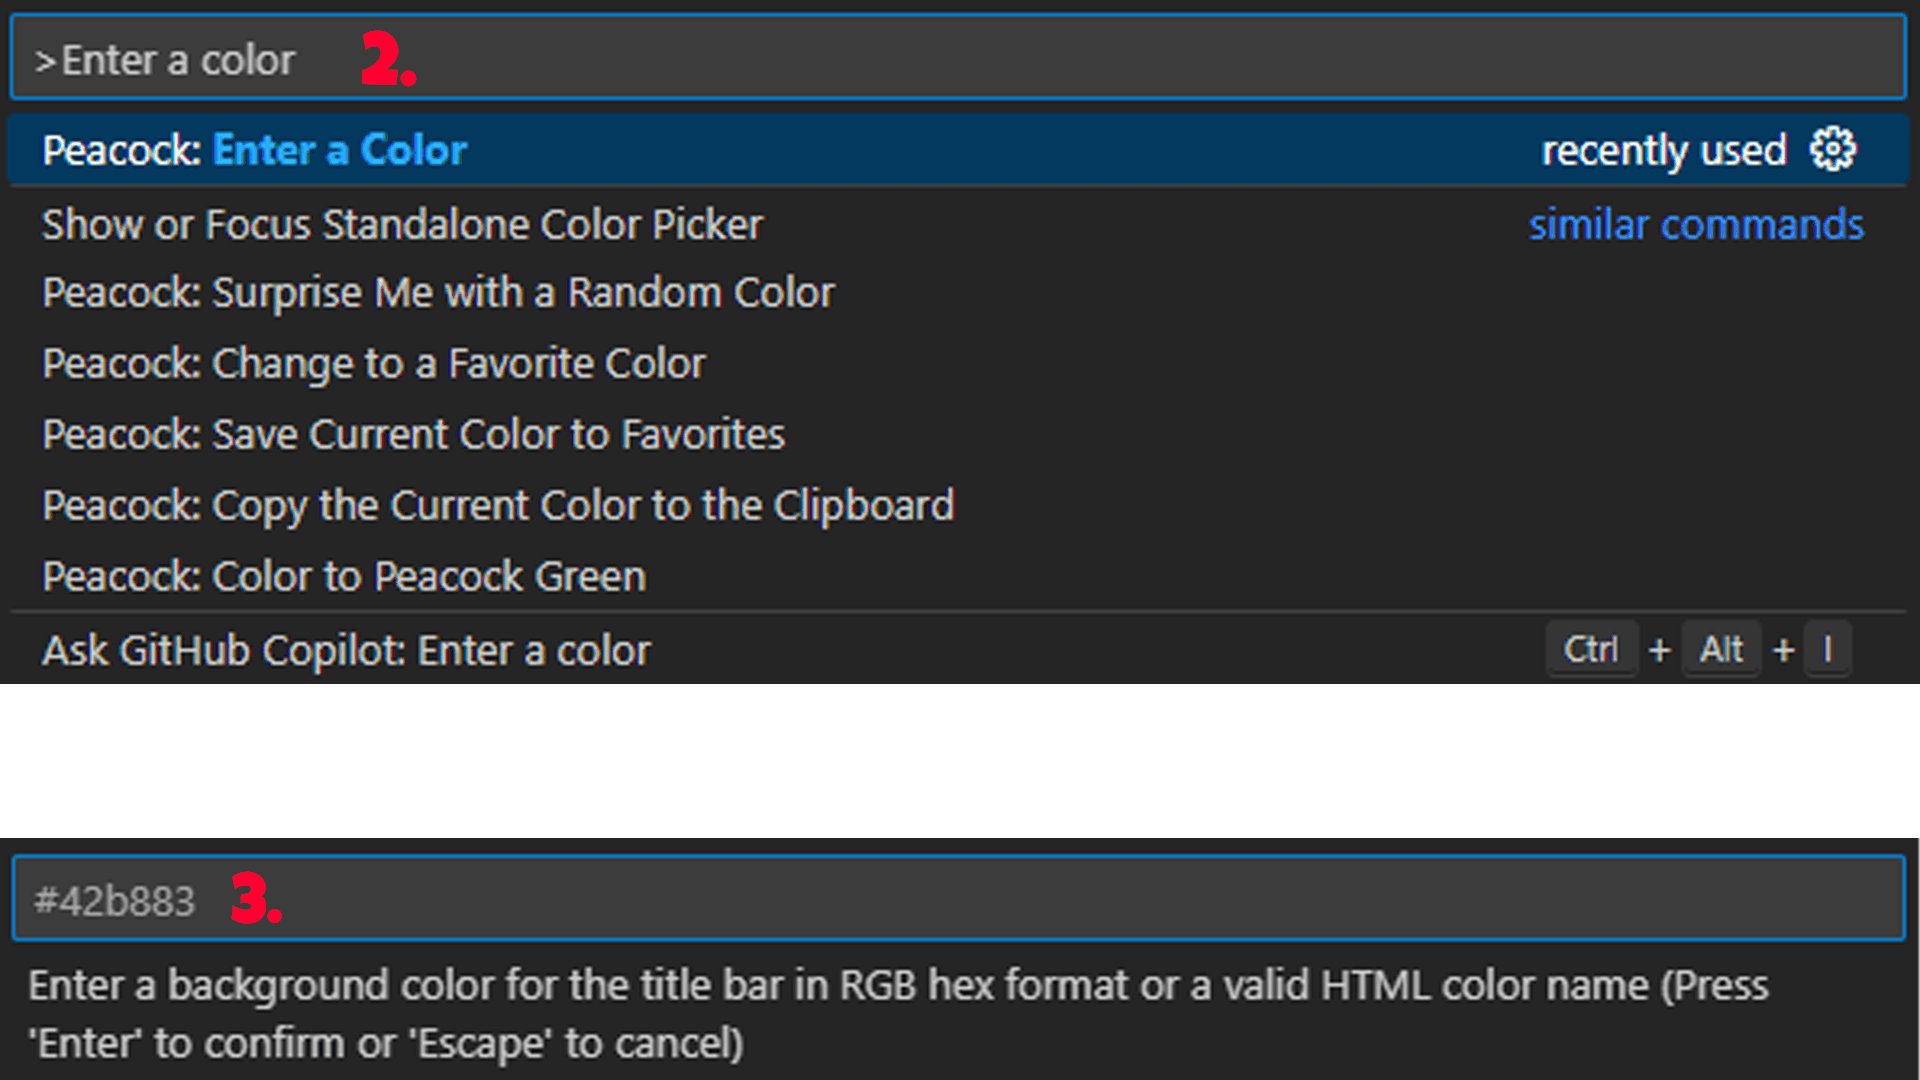
This feature is super useful if you want a unique color that’s not in the default options.
Trying Out Different Colors
- Feel free to try out different colors until you find the one you like the most.
- Dark Themes: Most developers prefer darker colors because they reduce eye strain.
- Light Themes: Not very popular, but some people still like bright white themes. Personally, I find them too harsh on the eyes, but you can try them out and see how they feel.
Resetting to Default Colors
Tried too many colors and want to go back to the original look? No problem! Here’s how to reset it:
- Open Command Palette: Press
Ctrl+Shift+P. - Search for Reset: Type “Reset workspace colors”.
- Press Enter: Your workspace colors will go back to the default VS Code theme.

This is a great way to experiment without worrying about losing the original look.
Final Thoughts
Changing your VS Code workspace color is a small but fun way to make coding more enjoyable. With Peacock, you have the freedom to explore and choose the colors that suit your style. Whether you want a dark and moody vibe or a bright and energetic look, Peacock has you covered.
So go ahead, install Peacock, and give your VS Code a fresh new look today!
Happy coding! 🚀
If you enjoyed this article, please make sure to Like, Comment and follow me on Twitter.