

Before we dive in, why not take a quick peek at my portfolio: https://priyalraj.com, & while you’re at it, check out my SaaS venture: https://shavelinks.com, it’s where innovation meets simplicity.
Before You Start:
Here’s the GitHub repo for reference.
Feel free to check the accompanying video tutorial.
Make sure you have a logo file at least 512×512 pixels with .png extension.
Note: I am trying to keep it simple and straightforward, so I will use very few images to make the post concise and to the point.
Step 1: Set up a new Next.js project
If you don’t have a Next.js project yet, run: npx create-next-app folderName . This will create a new folder with everything you need.
Step 2: Remove the default favicon
Inside your project folder:
Open the
src/appfolder.Find and delete the default
favicon.icofile. We’re going to replace it with our own custom set of favicon.
Step 3: Configure layout.tsx
Open src/app/layout.tsx and locate (or create) the metadata export. By default, it looks like this:
export const metadata: Metadata = { title: “Create Next App”, description: “Generated by create next app”, };
Replace or extend it to include your custom icons, as shown below. This snippet configures multiple icon sizes for various devices, including Android, iOS, and desktop browsers.
Please format it accordingly, as due to some limitations, I can’t format it properly here.
export const metadata: Metadata = { title: “Create Next App”, description: “Generated by create next app”, icons: { icon: [ // Android Icons { rel: “icon”, type: “image/png”, sizes: “36x36”, url: “/favicon/android-icon-36x36.png” }, { rel: “icon”, type: “image/png”, sizes: “48x48”, url: “/favicon/android-icon-48x48.png” }, { rel: “icon”, type: “image/png”, sizes: “72x72”, url: “/favicon/android-icon-72x72.png” }, { rel: “icon”, type: “image/png”, sizes: “96x96”, url: “/favicon/android-icon-96x96.png” }, { rel: “icon”, type: “image/png”, sizes: “144x144”, url: “/favicon/android-icon-144x144.png” }, { rel: “icon”, type: “image/png”, sizes: “192x192”, url: “/favicon/android-icon-192x192.png” }, { rel: “icon”, type: “image/png”, sizes: “512x512”, url: “/favicon/android-icon-512x512.png” }, // Apple Icons { rel: “apple-touch-icon”, type: “image/ico”, url: “/favicon/apple-icon.png” }, { rel: “apple-touch-icon”, sizes: “57x57”, url: “/favicon/apple-icon-57x57.png” }, { rel: “apple-touch-icon”, sizes: “60x60”, url: “/favicon/apple-icon-60x60.png” }, { rel: “apple-touch-icon”, sizes: “72x72”, url: “/favicon/apple-icon-72x72.png” }, { rel: “apple-touch-icon”, sizes: “76x76”, url: “/favicon/apple-icon-76x76.png” }, { rel: “apple-touch-icon”, sizes: “114x114”, url: “/favicon/apple-icon-114x114.png” }, { rel: “apple-touch-icon”, sizes: “120x120”, url: “/favicon/apple-icon-120x120.png” }, { rel: “apple-touch-icon”, sizes: “144x144”, url: “/favicon/apple-icon-144x144.png” }, { rel: “apple-touch-icon”, sizes: “152x152”, url: “/favicon/apple-icon-152x152.png” }, { rel: “apple-touch-icon”, sizes: “180x180”, url: “/favicon/apple-icon-180x180.png” }, // Favicon Icons { rel: “icon”, type: “image/ico”, url: “/favicon/favicon.ico” }, { rel: “icon”, type: “image/png”, sizes: “16x16”, url: “/favicon/favicon-16x16.png” }, { rel: “icon”, type: “image/png”, sizes: “32x32”, url: “/favicon/favicon-32x32.png” }, { rel: “icon”, type: “image/png”, sizes: “96x96”, url: “/favicon/favicon-96x96.png” }, ], other: [ { rel: “apple-touch-icon-precomposed”, url: “/favicon/apple-icon-precomposed.png”, }, ], }, manifest: “/favicon/manifest.json”, };
Step 4: Prepare your 512×512 logo
Make sure you have a 512×512 version of your logo. Name it: android-icon-512x512.png . This file is key for larger displays and home screen icons on Android devices.
A sample for 512x512 png image.

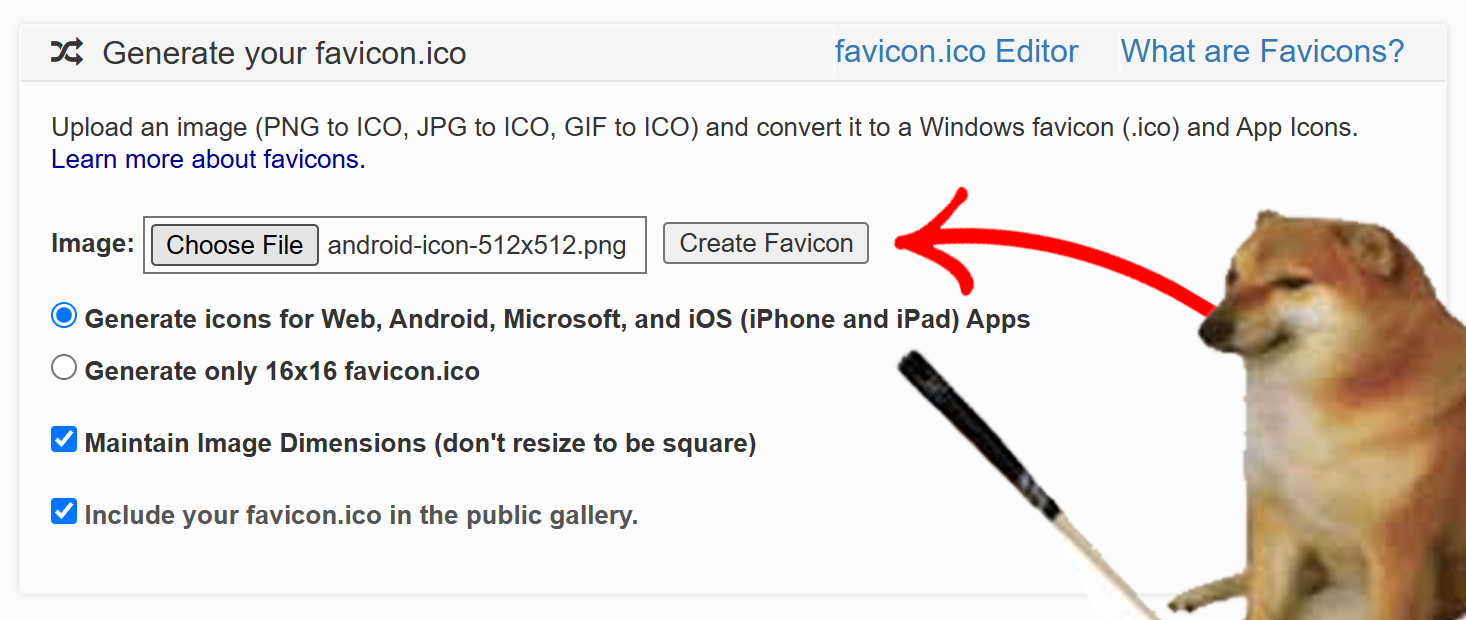
Step 5: Generate your favicon set
Go to favicon-generator.org.
Upload the 512×512 png image, hit the
Create Faviconbutton.
- Download the generated zip file.
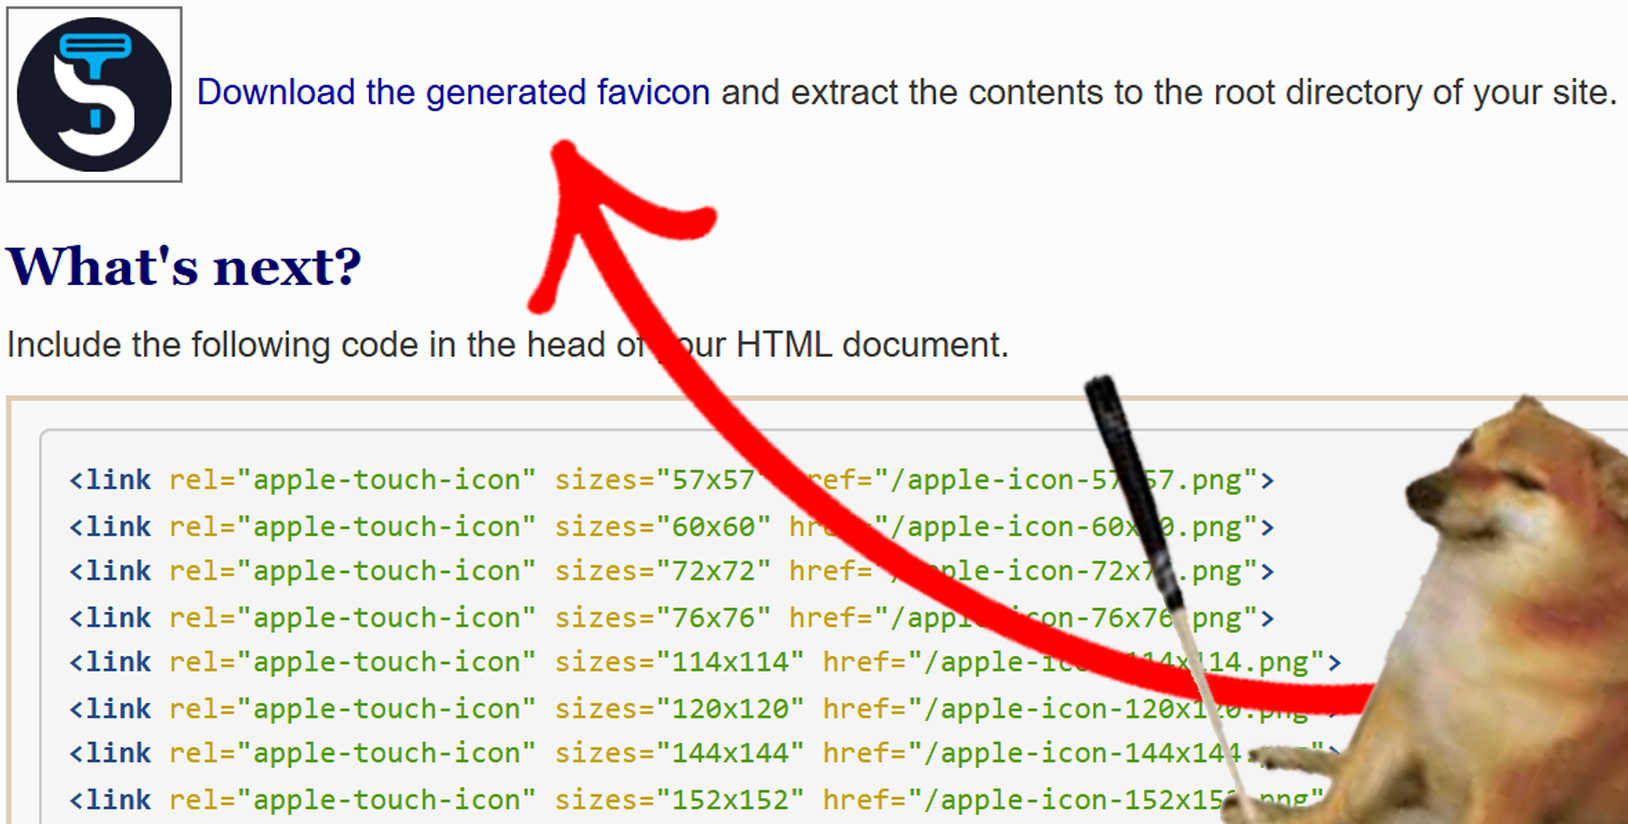
Step 6: Clean up unnecessary files
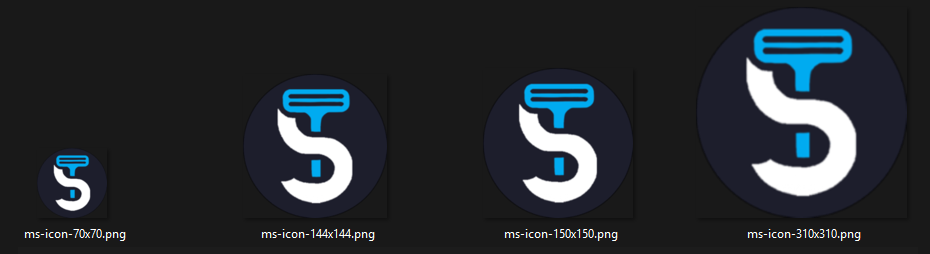
Extract the downloaded zip. Inside, you’ll see files named ms-icon-xxx. You can remove all the ms-icon files if you don’t need them (they’re mainly for Microsoft’s older setups).
Step 7: Rename the folder
Rename the extracted folder to: favicon .
Step 8: Place the favicon folder into “public"
In your Next.js project root, create a folder named
publicif it doesn’t exist already.Move the entire
faviconfolder intopublic.Restart your development server if necessary.
Want a reference? Here it is.
Refresh your site, and your custom favicons should now appear in the browser tab and on mobile devices!
Final Wrap Up
That’s it! You’ve successfully added a complete set of favicons to your Next.js 14 project using the new /app directory approach. By including a variety of icon sizes, your site will look great across all browsers and devices.
If you run into any issues, check out the GitHub repo or the video tutorial. Let me know how it goes in the comments!
If you enjoyed this article, please make sure to Like, Comment and follow me on Twitter.

Priyal Raj
Full Stack Developer with 3+ years building production web apps for founders and product teams worldwide. I write about Next.js, Node.js, TypeScript, Redis, and everything in between.